Brewing better coffee at home with a pour-over
Pour-over makes a clean, bright cup with very little gear. Get the grind, the ratio, and the pour right and the rest takes care of itself.
By TrendGuides Editors · October 2, 2026 · 4 min read
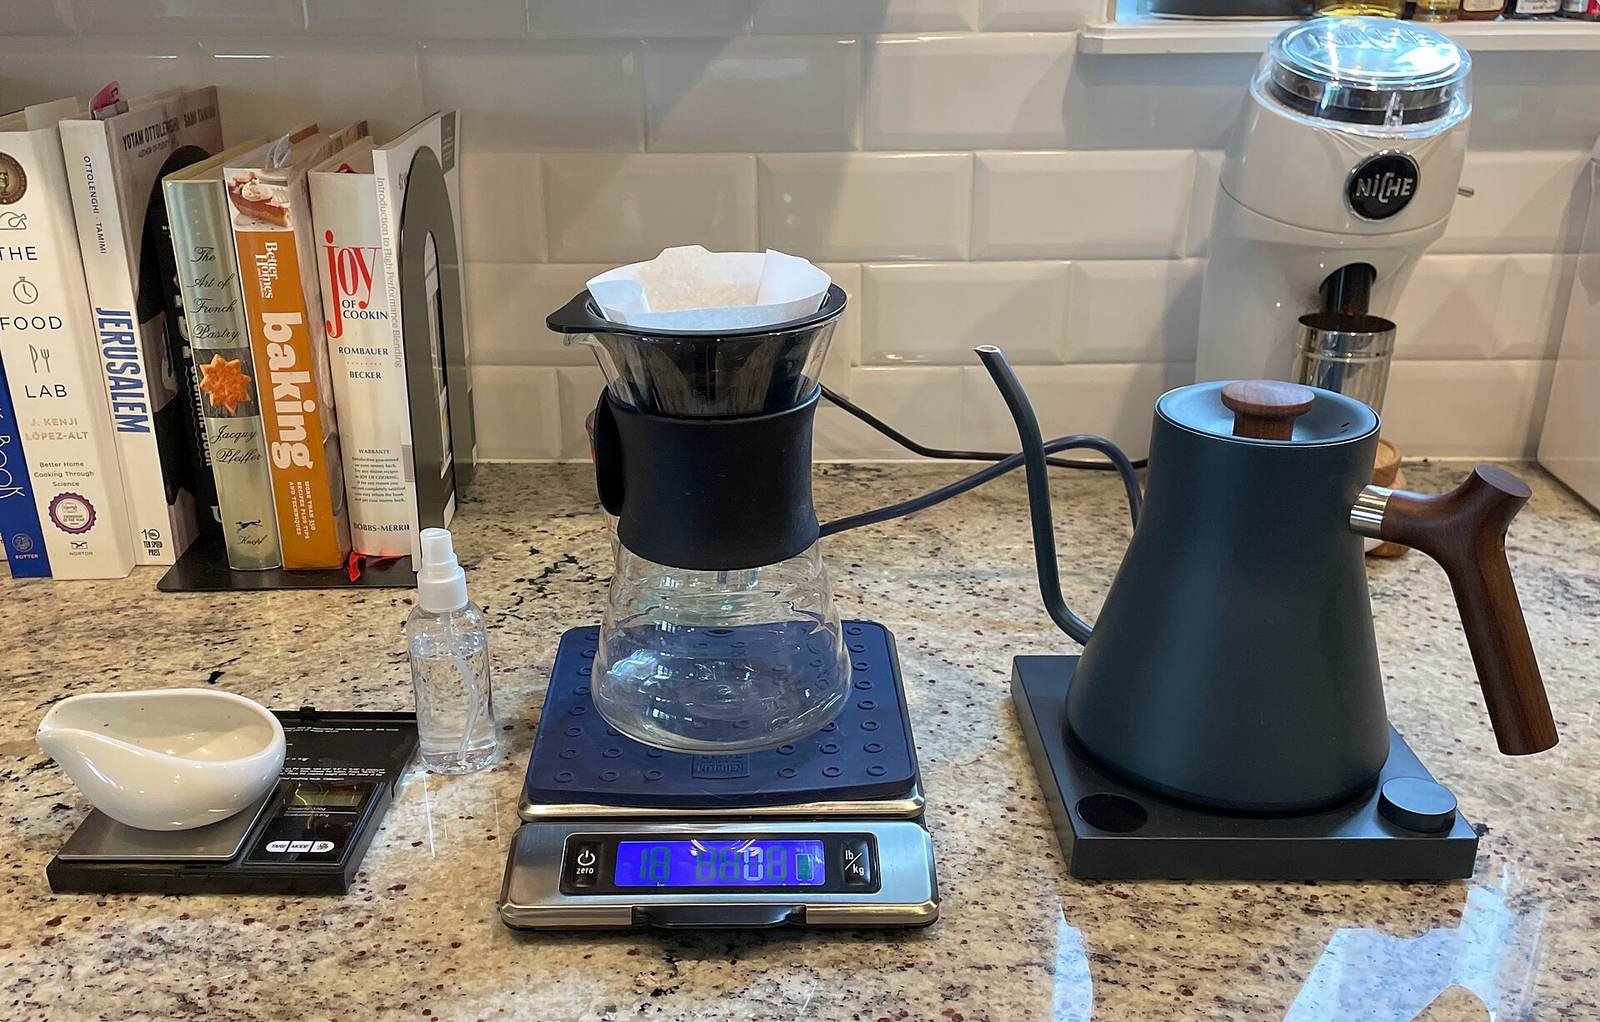
Pour-over coffee has a reputation for fuss that it does not deserve. Stripped down, it is just hot water poured slowly through ground coffee in a paper filter. The method rewards a few small habits, a consistent grind, a measured ratio, and an even pour, and it needs almost no equipment beyond a dripper, filters, and a way to heat water. The payoff is a clean, clear cup where you can taste what the coffee actually is.
What you need
The gear list is short, and only two items really change the cup:
- A dripper and paper filters. Any common cone works; the shape mostly affects pace, not quality.
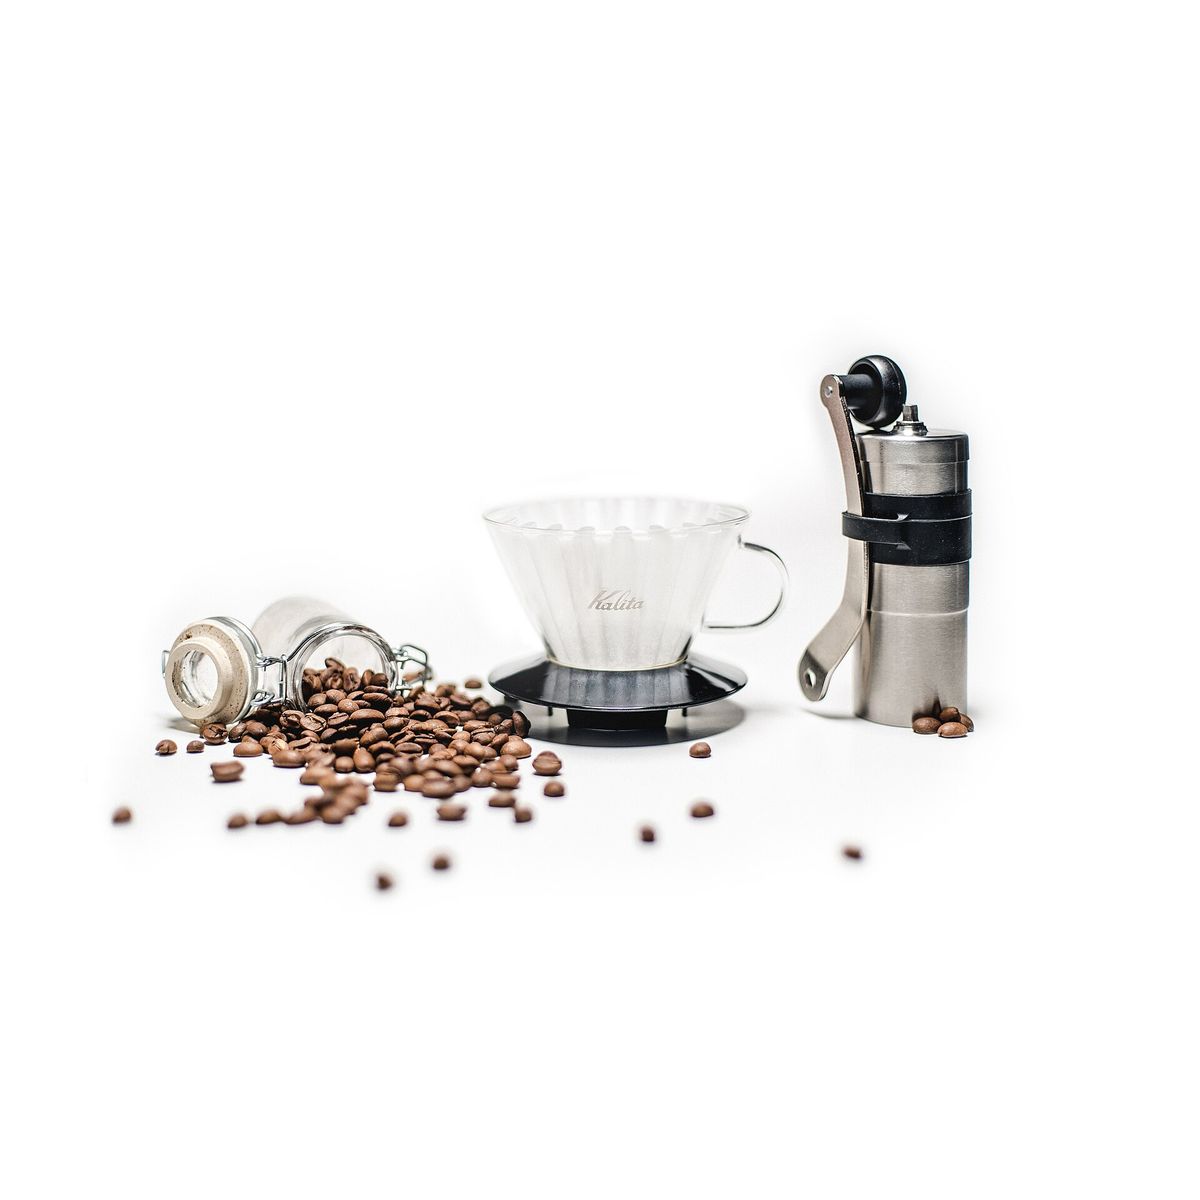
- A burr grinder. This is the one upgrade worth making, because an even grind matters more than almost anything else.
- A kitchen scale, since coffee is easier to repeat by weight than by scoops.
- A kettle, ideally with a gooseneck spout for a slow, aimed pour, though a steady hand with any kettle works.
A blade grinder or pre-ground coffee will still make a decent cup. A burr grinder makes a consistent one, which is what lets you fix a brew that came out wrong.
The ratio and the grind
Start from a ratio of about 1 gram of coffee to 16 grams of water, which is roughly 30 grams of coffee for a 500 gram brew. Weigh both. Once you know the baseline, you can nudge it stronger or weaker to taste, but changing one thing at a time is the only way to learn what each change does.
Grind to about the texture of coarse table salt, a medium grind. If the water rushes through and the cup tastes thin and sour, go finer. If it drains slowly and tastes harsh or bitter, go coarser. Grind size is your main lever for fixing a brew.
Water and the pour
Use water just off the boil, around 195 to 205°F (90 to 96°C). If you do not have a thermometer, let a boiled kettle rest for about thirty seconds. Rinse the paper filter with hot water first to wash out any papery taste and to warm the dripper, then tip that water out.
- Add the grounds, level them, and start your scale and timer.
- Pour just enough water to wet all the grounds, about twice their weight, and wait 30 to 45 seconds. This bloom lets gas escape so the water can reach the coffee.
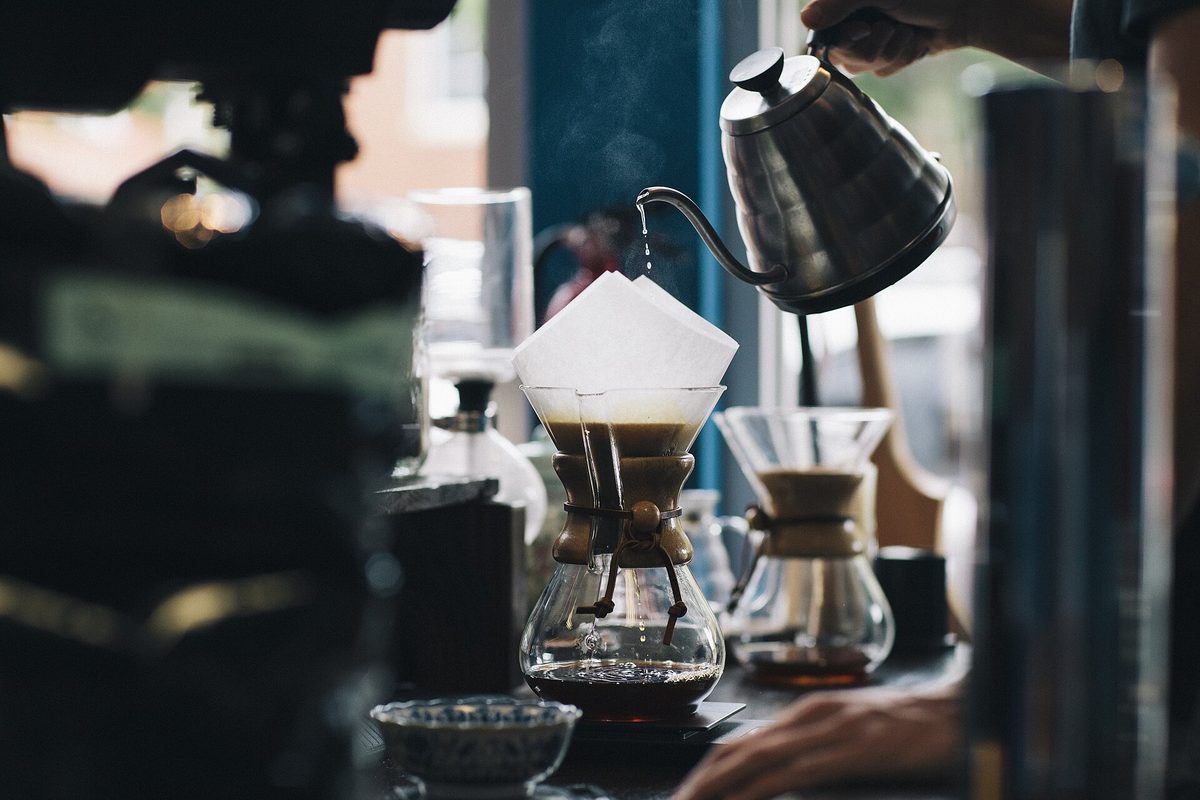
- Pour the rest in slow, steady circles from the center outward, keeping the bed of grounds wet but not flooded.
- Aim to finish pouring and draining in about three to three and a half minutes total.
Grind size is your main lever for fixing a brew.
Dial it in
Your first cup is a starting point, not a verdict. Taste it and adjust one variable at a time. Sour, weak, or watery usually means the water moved too fast, so grind finer or slow the pour. Bitter, dry, or heavy usually means it moved too slow, so grind coarser. Keep the ratio and temperature steady while you chase the grind, and write down what you change.
Fresh coffee helps more than any technique. Buy whole beans, grind them just before you brew, and use them within a few weeks of the roast date. Store them in a sealed container away from heat and light, not in the fridge.
Mistakes that quietly ruin a cup
A few habits sink more brews than bad beans. Pouring too fast is the most common; dumping water in floods the grounds, channels straight through, and leaves a weak, uneven cup, so keep the stream slow and the bed gently topped up. Pouring down the sides washes grounds up the filter where the water skips past them, so aim for the center and spiral outward without hitting the paper.
Stale or badly stored coffee is the other quiet killer. Coffee is freshest in the first few weeks after roasting and goes flat fast once ground, which is why grinding to order makes such a difference. Pre-ground coffee from an old bag can taste dull no matter how careful the pour, so if your cups are lifeless despite good technique, the beans are the first suspect.
Keep the gear clean, too. Coffee oils build up on a dripper and carafe and turn rancid, adding a stale edge to everything you brew. A rinse with hot water after each use and an occasional proper wash is enough. None of this is fussy once it is habit, and it is the difference between a cup that is merely fine and one you look forward to.
Photo credits
- Photo: Cerebral726 / Wikimedia Commons, CC BY-SA 4.0
- Photo: Joshua Davis currentcoast / Wikimedia Commons, CC0
- Photo: Karl Fredrickson kfred / Wikimedia Commons, CC0
TrendGuides writes about product categories and methods, not about specific brands or models. We do not accept payment for placement. Read our editorial standards and affiliate disclosure.